Computer Vision AI: Building Image Recognition Systems

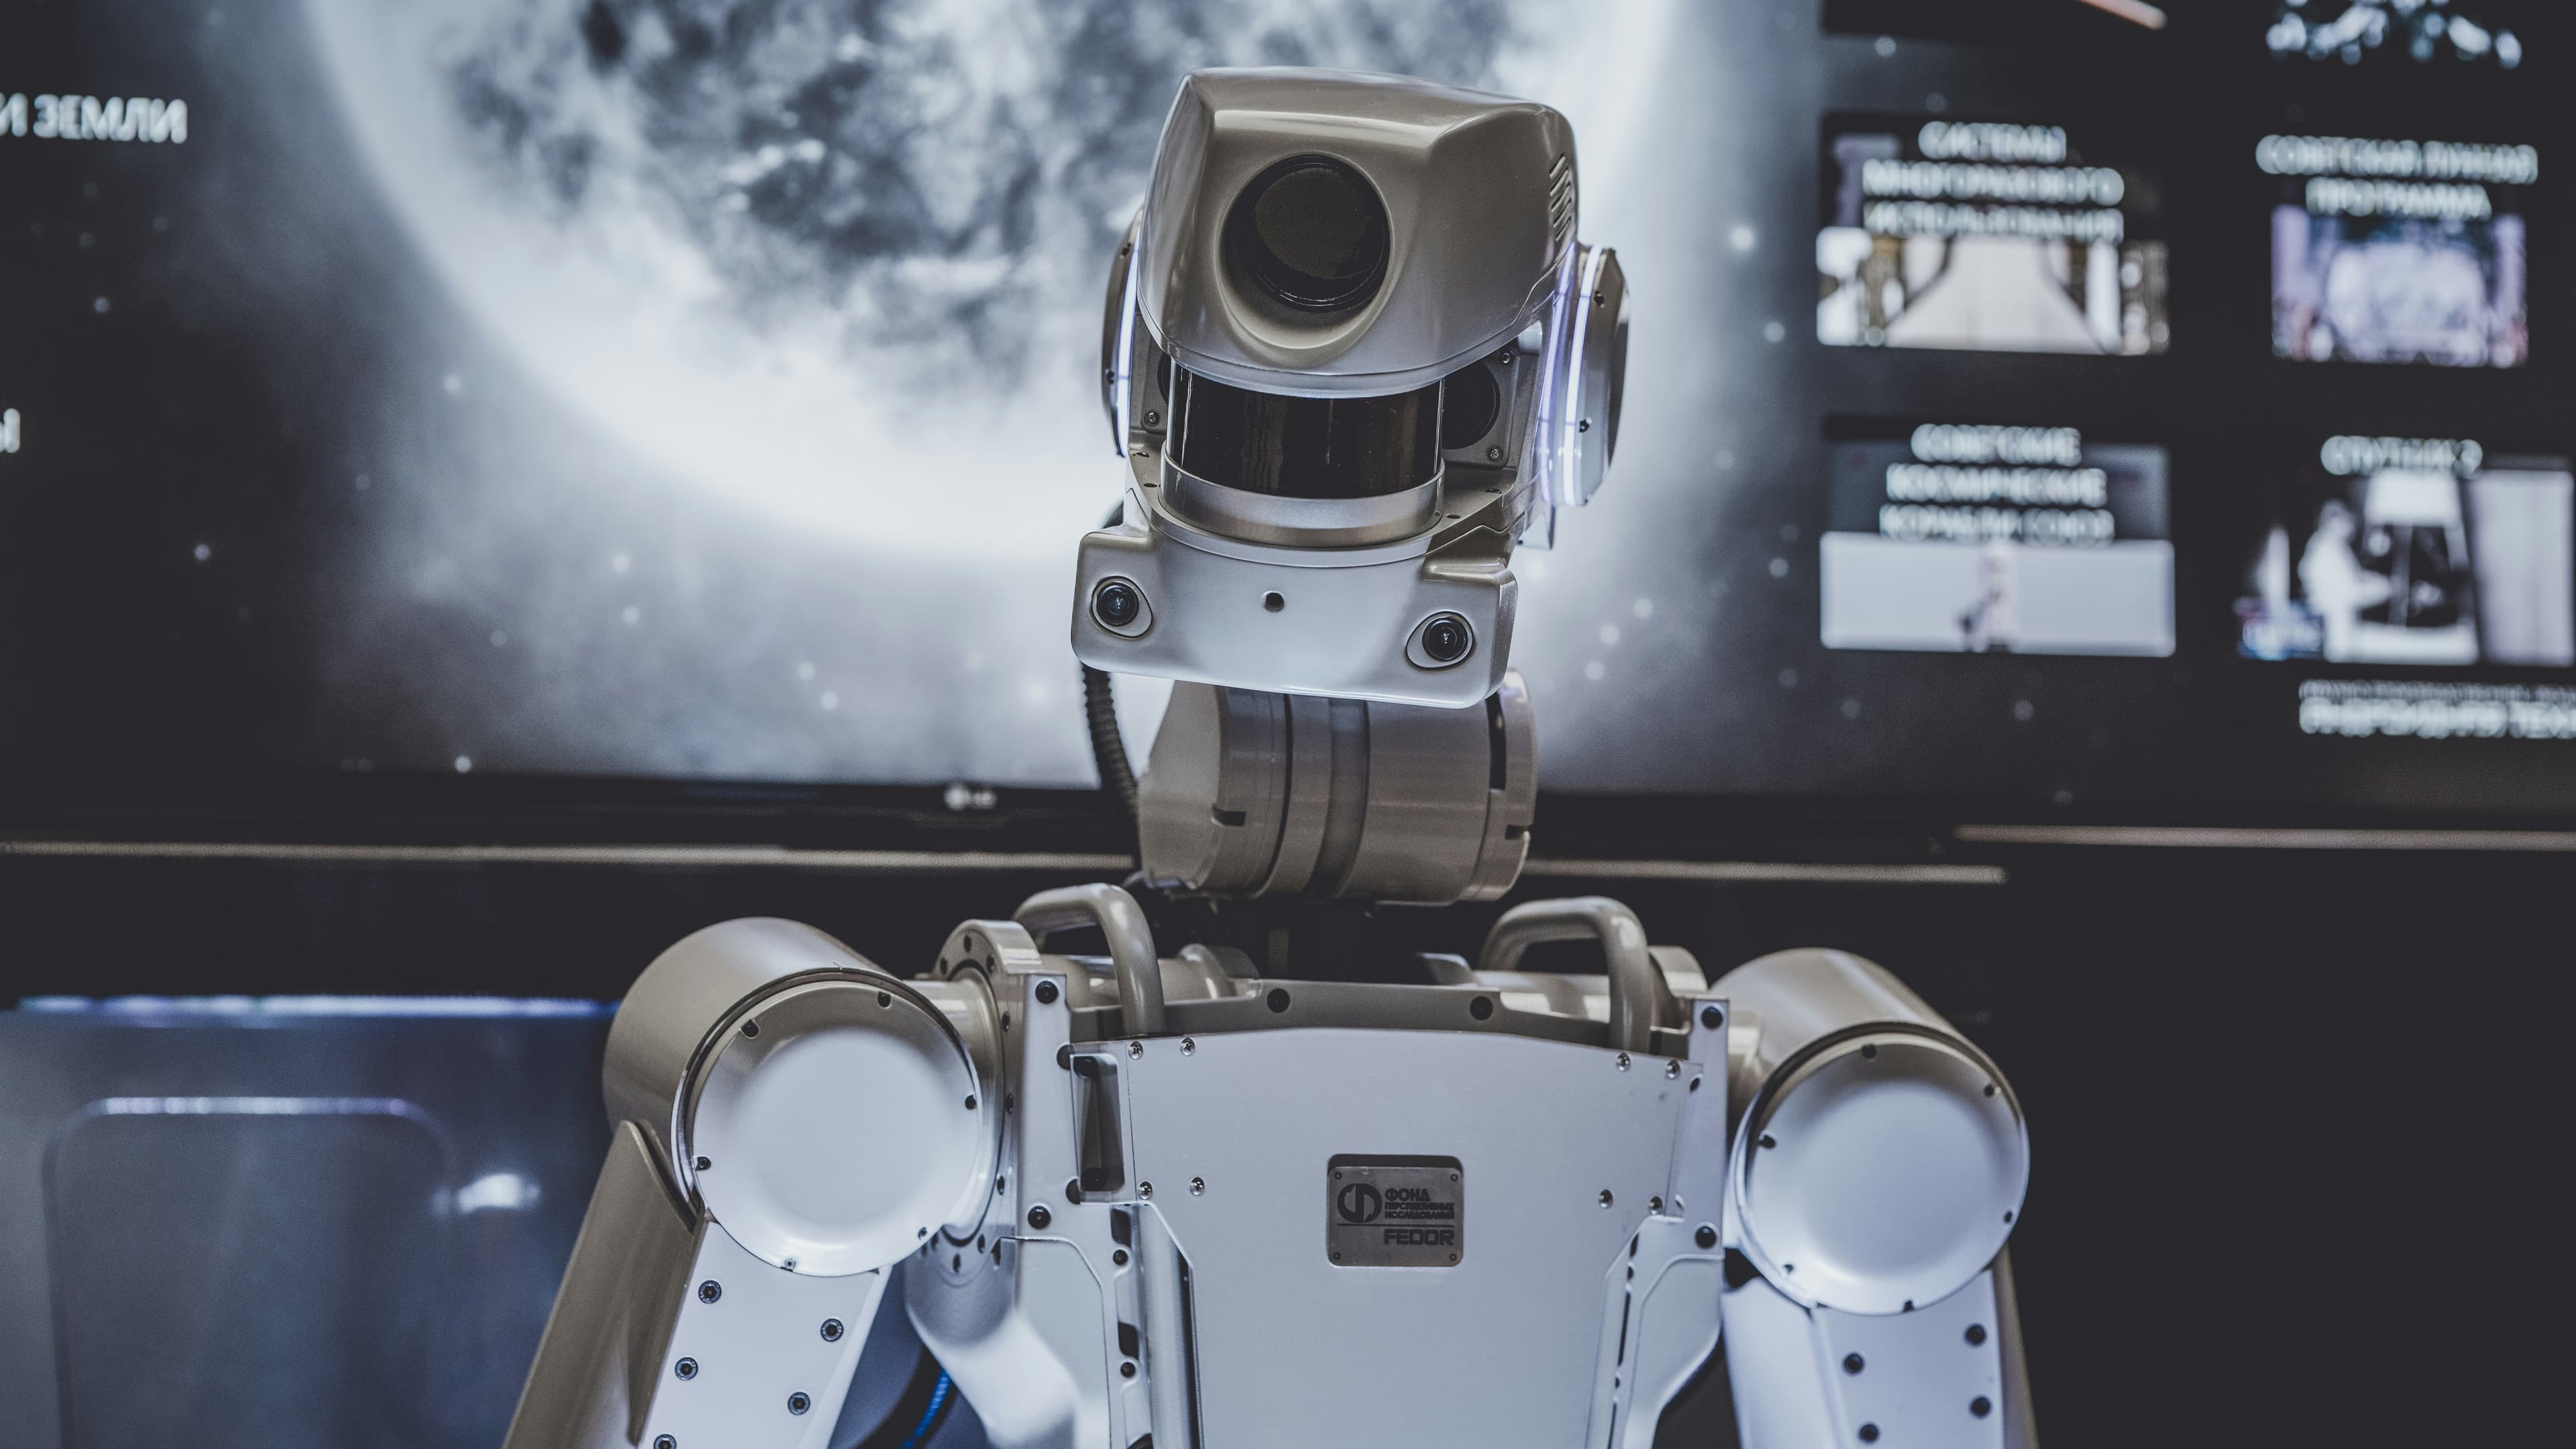
Master computer vision with practical projects: object detection, facial recognition, and custom image classifiers using TensorFlow, OpenCV, and modern deep learning.
Computer Vision AI: Building Image Recognition Systems
Published on December 15, 2024 • 16 min read
Computer vision is transforming industries from healthcare to autonomous vehicles. This comprehensive guide teaches you how to build production-ready image recognition systems using modern AI frameworks and techniques.
Table of Contents
- Introduction to Computer Vision
- Setting Up Your Development Environment
- Image Classification with CNNs
- Object Detection Systems
- Real-Time Processing
- Production Deployment
- Advanced Techniques
- Best Practices
Introduction to Computer Vision {#introduction}
Computer vision enables machines to interpret and understand visual information from the world. Modern deep learning techniques have revolutionized this field, achieving human-level performance in many tasks.
Key Applications
- Medical Imaging: Disease detection and diagnosis
- Autonomous Vehicles: Object detection and navigation
- Manufacturing: Quality control and defect detection
- Security: Facial recognition and surveillance
- Retail: Product recognition and inventory management
Setting Up Your Development Environment {#setup}
Prerequisites
1pip install tensorflow opencv-python pillow numpy matplotlib2pip install torch torchvision torchaudio3pip install ultralytics roboflow supervision
Basic Image Processing
1import cv22import numpy as np3import matplotlib.pyplot as plt4from PIL import Image5import tensorflow as tf67class ImageProcessor:8 def __init__(self):9 self.supported_formats = ['.jpg', '.jpeg', '.png', '.bmp', '.tiff']1011 def load_image(self, image_path):12 """Load and preprocess image"""13 image = cv2.imread(image_path)14 if image is None:15 raise ValueError(f"Could not load image: {image_path}")1617 # Convert BGR to RGB18 image = cv2.cvtColor(image, cv2.COLOR_BGR2RGB)19 return image2021 def resize_image(self, image, target_size=(224, 224)):22 """Resize image while maintaining aspect ratio"""23 return cv2.resize(image, target_size, interpolation=cv2.INTER_AREA)2425 def normalize_image(self, image):26 """Normalize pixel values to [0, 1]"""27 return image.astype(np.float32) / 255.02829 def augment_image(self, image):30 """Apply data augmentation"""31 # Random rotation32 angle = np.random.uniform(-15, 15)33 center = (image.shape[1]//2, image.shape[0]//2)34 rotation_matrix = cv2.getRotationMatrix2D(center, angle, 1.0)35 rotated = cv2.warpAffine(image, rotation_matrix, (image.shape[1], image.shape[0]))3637 # Random brightness adjustment38 brightness = np.random.uniform(0.8, 1.2)39 brightened = np.clip(rotated * brightness, 0, 255).astype(np.uint8)4041 return brightened4243# Usage example44processor = ImageProcessor()45image = processor.load_image('sample.jpg')46processed = processor.resize_image(image)47normalized = processor.normalize_image(processed)
Image Classification with CNNs {#classification}
Building a Custom CNN
1import tensorflow as tf2from tensorflow.keras import layers, models3from tensorflow.keras.preprocessing.image import ImageDataGenerator45class ImageClassifier:6 def __init__(self, num_classes, input_shape=(224, 224, 3)):7 self.num_classes = num_classes8 self.input_shape = input_shape9 self.model = self.build_model()1011 def build_model(self):12 """Build CNN architecture"""13 model = models.Sequential([14 # First convolutional block15 layers.Conv2D(32, (3, 3), activation='relu', input_shape=self.input_shape),16 layers.BatchNormalization(),17 layers.MaxPooling2D((2, 2)),18 layers.Dropout(0.25),1920 # Second convolutional block21 layers.Conv2D(64, (3, 3), activation='relu'),22 layers.BatchNormalization(),23 layers.MaxPooling2D((2, 2)),24 layers.Dropout(0.25),2526 # Third convolutional block27 layers.Conv2D(128, (3, 3), activation='relu'),28 layers.BatchNormalization(),29 layers.MaxPooling2D((2, 2)),30 layers.Dropout(0.25),3132 # Fourth convolutional block33 layers.Conv2D(256, (3, 3), activation='relu'),34 layers.BatchNormalization(),35 layers.MaxPooling2D((2, 2)),36 layers.Dropout(0.25),3738 # Classifier39 layers.Flatten(),40 layers.Dense(512, activation='relu'),41 layers.BatchNormalization(),42 layers.Dropout(0.5),43 layers.Dense(self.num_classes, activation='softmax')44 ])4546 return model4748 def compile_model(self, learning_rate=0.001):49 """Compile model with optimizer and loss function"""50 self.model.compile(51 optimizer=tf.keras.optimizers.Adam(learning_rate=learning_rate),52 loss='categorical_crossentropy',53 metrics=['accuracy', 'top_5_accuracy']54 )5556 def create_data_generators(self, train_dir, val_dir, batch_size=32):57 """Create data generators with augmentation"""58 train_datagen = ImageDataGenerator(59 rescale=1./255,60 rotation_range=20,61 width_shift_range=0.2,62 height_shift_range=0.2,63 horizontal_flip=True,64 zoom_range=0.2,65 shear_range=0.2,66 fill_mode='nearest'67 )6869 val_datagen = ImageDataGenerator(rescale=1./255)7071 train_generator = train_datagen.flow_from_directory(72 train_dir,73 target_size=self.input_shape[:2],74 batch_size=batch_size,75 class_mode='categorical'76 )7778 val_generator = val_datagen.flow_from_directory(79 val_dir,80 target_size=self.input_shape[:2],81 batch_size=batch_size,82 class_mode='categorical'83 )8485 return train_generator, val_generator8687 def train(self, train_generator, val_generator, epochs=50):88 """Train the model"""89 callbacks = [90 tf.keras.callbacks.EarlyStopping(91 monitor='val_loss',92 patience=10,93 restore_best_weights=True94 ),95 tf.keras.callbacks.ReduceLROnPlateau(96 monitor='val_loss',97 factor=0.2,98 patience=5,99 min_lr=1e-7100 ),101 tf.keras.callbacks.ModelCheckpoint(102 'best_model.h5',103 monitor='val_accuracy',104 save_best_only=True105 )106 ]107108 history = self.model.fit(109 train_generator,110 epochs=epochs,111 validation_data=val_generator,112 callbacks=callbacks113 )114115 return history116117# Usage example118classifier = ImageClassifier(num_classes=10)119classifier.compile_model()120121# Create data generators122train_gen, val_gen = classifier.create_data_generators(123 'data/train',124 'data/validation'125)126127# Train model128history = classifier.train(train_gen, val_gen, epochs=100)
Transfer Learning with Pre-trained Models
1from tensorflow.keras.applications import ResNet50, VGG16, InceptionV32from tensorflow.keras.applications.resnet50 import preprocess_input34class TransferLearningClassifier:5 def __init__(self, num_classes, base_model_name='resnet50'):6 self.num_classes = num_classes7 self.base_model_name = base_model_name8 self.model = self.build_transfer_model()910 def build_transfer_model(self):11 """Build model using transfer learning"""12 # Load pre-trained base model13 if self.base_model_name == 'resnet50':14 base_model = ResNet50(15 weights='imagenet',16 include_top=False,17 input_shape=(224, 224, 3)18 )19 elif self.base_model_name == 'vgg16':20 base_model = VGG16(21 weights='imagenet',22 include_top=False,23 input_shape=(224, 224, 3)24 )25 elif self.base_model_name == 'inception':26 base_model = InceptionV3(27 weights='imagenet',28 include_top=False,29 input_shape=(224, 224, 3)30 )3132 # Freeze base model layers33 base_model.trainable = False3435 # Add custom classifier36 model = models.Sequential([37 base_model,38 layers.GlobalAveragePooling2D(),39 layers.BatchNormalization(),40 layers.Dropout(0.5),41 layers.Dense(512, activation='relu'),42 layers.BatchNormalization(),43 layers.Dropout(0.3),44 layers.Dense(self.num_classes, activation='softmax')45 ])4647 return model4849 def fine_tune(self, learning_rate=1e-5):50 """Fine-tune the pre-trained layers"""51 # Unfreeze the base model52 self.model.layers[0].trainable = True5354 # Use a lower learning rate for fine-tuning55 self.model.compile(56 optimizer=tf.keras.optimizers.Adam(learning_rate=learning_rate),57 loss='categorical_crossentropy',58 metrics=['accuracy']59 )6061# Usage62transfer_classifier = TransferLearningClassifier(num_classes=5)63transfer_classifier.model.compile(64 optimizer='adam',65 loss='categorical_crossentropy',66 metrics=['accuracy']67)
Object Detection Systems {#detection}
YOLO Implementation
1from ultralytics import YOLO2import cv23import numpy as np45class ObjectDetector:6 def __init__(self, model_path='yolov8n.pt'):7 self.model = YOLO(model_path)8 self.class_names = self.model.names910 def detect_objects(self, image_path, confidence_threshold=0.5):11 """Detect objects in image"""12 results = self.model(image_path, conf=confidence_threshold)1314 detections = []15 for result in results:16 boxes = result.boxes17 if boxes is not None:18 for box in boxes:19 # Extract box coordinates20 x1, y1, x2, y2 = box.xyxy[0].cpu().numpy()21 confidence = box.conf[0].cpu().numpy()22 class_id = int(box.cls[0].cpu().numpy())23 class_name = self.class_names[class_id]2425 detections.append({26 'bbox': [x1, y1, x2, y2],27 'confidence': confidence,28 'class_id': class_id,29 'class_name': class_name30 })3132 return detections3334 def draw_detections(self, image_path, detections, output_path=None):35 """Draw bounding boxes on image"""36 image = cv2.imread(image_path)3738 for detection in detections:39 x1, y1, x2, y2 = map(int, detection['bbox'])40 confidence = detection['confidence']41 class_name = detection['class_name']4243 # Draw bounding box44 cv2.rectangle(image, (x1, y1), (x2, y2), (0, 255, 0), 2)4546 # Draw label47 label = f"{class_name}: {confidence:.2f}"48 label_size = cv2.getTextSize(label, cv2.FONT_HERSHEY_SIMPLEX, 0.5, 2)[0]49 cv2.rectangle(image, (x1, y1 - label_size[1] - 10),50 (x1 + label_size[0], y1), (0, 255, 0), -1)51 cv2.putText(image, label, (x1, y1 - 5),52 cv2.FONT_HERSHEY_SIMPLEX, 0.5, (0, 0, 0), 2)5354 if output_path:55 cv2.imwrite(output_path, image)5657 return image5859 def detect_video(self, video_path, output_path=None):60 """Detect objects in video"""61 cap = cv2.VideoCapture(video_path)6263 if output_path:64 fourcc = cv2.VideoWriter_fourcc(*'mp4v')65 fps = int(cap.get(cv2.CAP_PROP_FPS))66 width = int(cap.get(cv2.CAP_PROP_FRAME_WIDTH))67 height = int(cap.get(cv2.CAP_PROP_FRAME_HEIGHT))68 out = cv2.VideoWriter(output_path, fourcc, fps, (width, height))6970 while True:71 ret, frame = cap.read()72 if not ret:73 break7475 # Run detection76 results = self.model(frame, conf=0.5)7778 # Draw results79 annotated_frame = results[0].plot()8081 if output_path:82 out.write(annotated_frame)8384 # Display frame (optional)85 cv2.imshow('Object Detection', annotated_frame)86 if cv2.waitKey(1) & 0xFF == ord('q'):87 break8889 cap.release()90 if output_path:91 out.release()92 cv2.destroyAllWindows()9394# Usage95detector = ObjectDetector()96detections = detector.detect_objects('image.jpg')97detector.draw_detections('image.jpg', detections, 'output.jpg')
Real-Time Processing {#realtime}
Webcam Object Detection
1import threading2import queue3import time45class RealTimeDetector:6 def __init__(self, model_path='yolov8n.pt'):7 self.model = YOLO(model_path)8 self.frame_queue = queue.Queue(maxsize=10)9 self.result_queue = queue.Queue(maxsize=10)10 self.running = False1112 def capture_frames(self, source=0):13 """Capture frames from camera"""14 cap = cv2.VideoCapture(source)15 cap.set(cv2.CAP_PROP_FRAME_WIDTH, 640)16 cap.set(cv2.CAP_PROP_FRAME_HEIGHT, 480)17 cap.set(cv2.CAP_PROP_FPS, 30)1819 while self.running:20 ret, frame = cap.read()21 if ret:22 if not self.frame_queue.full():23 self.frame_queue.put(frame)24 time.sleep(0.01)2526 cap.release()2728 def process_frames(self):29 """Process frames for object detection"""30 while self.running:31 if not self.frame_queue.empty():32 frame = self.frame_queue.get()3334 # Run detection35 results = self.model(frame, conf=0.5, verbose=False)36 annotated_frame = results[0].plot()3738 if not self.result_queue.full():39 self.result_queue.put(annotated_frame)40 time.sleep(0.01)4142 def display_results(self):43 """Display processed frames"""44 while self.running:45 if not self.result_queue.empty():46 frame = self.result_queue.get()47 cv2.imshow('Real-time Object Detection', frame)4849 if cv2.waitKey(1) & 0xFF == ord('q'):50 self.running = False51 time.sleep(0.01)5253 cv2.destroyAllWindows()5455 def start(self, source=0):56 """Start real-time detection"""57 self.running = True5859 # Start threads60 capture_thread = threading.Thread(target=self.capture_frames, args=(source,))61 process_thread = threading.Thread(target=self.process_frames)62 display_thread = threading.Thread(target=self.display_results)6364 capture_thread.start()65 process_thread.start()66 display_thread.start()6768 # Wait for threads to complete69 capture_thread.join()70 process_thread.join()71 display_thread.join()7273# Usage74real_time_detector = RealTimeDetector()75real_time_detector.start() # Press 'q' to quit
Production Deployment {#deployment}
FastAPI Web Service
1from fastapi import FastAPI, File, UploadFile, HTTPException2from fastapi.responses import JSONResponse3import uvicorn4import io5from PIL import Image6import numpy as np78app = FastAPI(title="Computer Vision API")910# Initialize model11detector = ObjectDetector()1213@app.post("/detect/")14async def detect_objects_api(file: UploadFile = File(...)):15 """API endpoint for object detection"""16 try:17 # Validate file type18 if not file.content_type.startswith('image/'):19 raise HTTPException(status_code=400, detail="File must be an image")2021 # Read and process image22 contents = await file.read()23 image = Image.open(io.BytesIO(contents))2425 # Convert to numpy array26 image_array = np.array(image)2728 # Save temporarily for processing29 temp_path = f"temp_{file.filename}"30 image.save(temp_path)3132 # Run detection33 detections = detector.detect_objects(temp_path)3435 # Clean up36 os.remove(temp_path)3738 return JSONResponse(content={39 "status": "success",40 "detections": detections,41 "count": len(detections)42 })4344 except Exception as e:45 raise HTTPException(status_code=500, detail=str(e))4647@app.get("/health")48async def health_check():49 """Health check endpoint"""50 return {"status": "healthy", "model": "loaded"}5152if __name__ == "__main__":53 uvicorn.run(app, host="0.0.0.0", port=8000)
Docker Deployment
1FROM python:3.9-slim23WORKDIR /app45# Install system dependencies6RUN apt-get update && apt-get install -y \7 libglib2.0-0 \8 libsm6 \9 libxext6 \10 libxrender-dev \11 libgomp1 \12 libglib2.0-0 \13 && rm -rf /var/lib/apt/lists/*1415# Copy requirements and install Python dependencies16COPY requirements.txt .17RUN pip install --no-cache-dir -r requirements.txt1819# Copy application code20COPY . .2122# Expose port23EXPOSE 80002425# Run the application26CMD ["uvicorn", "main:app", "--host", "0.0.0.0", "--port", "8000"]
Advanced Techniques {#advanced-techniques}
Custom Loss Functions
1import tensorflow as tf23class FocalLoss(tf.keras.losses.Loss):4 """Focal Loss for addressing class imbalance"""56 def __init__(self, alpha=0.25, gamma=2.0, **kwargs):7 super().__init__(**kwargs)8 self.alpha = alpha9 self.gamma = gamma1011 def call(self, y_true, y_pred):12 # Compute cross entropy13 ce_loss = tf.keras.losses.categorical_crossentropy(y_true, y_pred)1415 # Compute p_t16 p_t = tf.where(tf.equal(y_true, 1), y_pred, 1 - y_pred)1718 # Compute alpha_t19 alpha_t = tf.where(tf.equal(y_true, 1), self.alpha, 1 - self.alpha)2021 # Compute focal loss22 focal_loss = alpha_t * tf.pow(1 - p_t, self.gamma) * ce_loss2324 return tf.reduce_mean(focal_loss)2526# Usage27model.compile(28 optimizer='adam',29 loss=FocalLoss(alpha=0.25, gamma=2.0),30 metrics=['accuracy']31)
Model Optimization
1import tensorflow as tf23class ModelOptimizer:4 def __init__(self, model):5 self.model = model67 def quantize_model(self):8 """Quantize model for faster inference"""9 converter = tf.lite.TFLiteConverter.from_keras_model(self.model)10 converter.optimizations = [tf.lite.Optimize.DEFAULT]11 quantized_model = converter.convert()1213 return quantized_model1415 def prune_model(self, target_sparsity=0.5):16 """Prune model to reduce size"""17 import tensorflow_model_optimization as tfmot1819 prune_low_magnitude = tfmot.sparsity.keras.prune_low_magnitude2021 pruning_params = {22 'pruning_schedule': tfmot.sparsity.keras.PolynomialDecay(23 initial_sparsity=0.0,24 final_sparsity=target_sparsity,25 begin_step=0,26 end_step=100027 )28 }2930 pruned_model = prune_low_magnitude(self.model, **pruning_params)31 return pruned_model3233# Usage34optimizer = ModelOptimizer(model)35quantized_model = optimizer.quantize_model()
Best Practices {#best-practices}
Performance Optimization
-
Data Pipeline Optimization
- Use tf.data for efficient data loading
- Implement prefetching and parallel processing
- Cache frequently used data
-
Model Architecture
- Use appropriate model size for your task
- Implement early stopping to prevent overfitting
- Use batch normalization for stable training
-
Hardware Utilization
- Leverage GPU acceleration when available
- Use mixed precision training for faster training
- Implement model parallelism for large models
Production Considerations
- Monitoring: Implement comprehensive logging and monitoring
- Versioning: Use model versioning for reproducibility
- Testing: Implement thorough testing pipelines
- Security: Validate inputs and implement rate limiting
- Scalability: Design for horizontal scaling
Conclusion
Computer vision AI has immense potential across industries. By following this guide, you can build robust image recognition systems that perform well in production environments.
Start with simple classification tasks and gradually move to more complex object detection and real-time processing as you gain experience.
This guide provides a comprehensive foundation for building computer vision systems. Remember to always validate your models thoroughly before deploying to production.
Related Posts
Voice AI Assistants: Speech-to-Text and Natural Language Processing
Create intelligent voice assistants with speech recognition, natural language understanding, and voice synthesis using modern AI APIs and frameworks.
Getting Started with AI: A Developer's Complete Guide
This comprehensive guide takes you from AI novice to building your first intelligent application. We'll cover the fundamentals, set up your development environment, explore key frameworks, and build three practical projects.
AI Morning Briefing — October 7th, 2026
Mistral Large 4 (1T MoE, open weights by month-end), OpenAI's Decisions API beta, new OpenAI math results, Claude in Google Docs, and EmbeddingGemma 2.